SparkFun USB to serial UART Boards Hookup Guide a learn.sparkfun.com tutorial
Available online at: http://sfe.io/t466
Introduction
SparkFun has a line of USB to serial UART bridge products designed to allow a user to communicate with a serial UART through a common USB port. It is harder to find computers with serial UART ports on them these days, but super common to find serial devices. Many of the official Arduino and clones share a common interface. This interface is essentially the 6 pin Single-In-Line (SIL), 0.1” pitch version of FTDI’s TTL-232R cables.

The key change from the FTDI cables to our Arduino compatible boards is that we swapped pin 6 from RTS to DTR. This change was required to match Arduino’s method of resetting the ATmega328P using the DTR signal.

Arduino compatible pinout is slightly different from the FTDI cable (pin 6)
Advantages
Having a detachable USB to UART bridge comes with several advantages over boards like the Arduino Uno.
- Removing the computer interface makes the board smaller.
- You only need to buy the circuit once and can program many Arduinos.
- The bridge circuitry draws power (up to 500 mW) that’s not needed in many installed applications. Removing this parasitic drain makes your project more power efficient & your batteries last longer.
Suggested Reading
Before we get started, you might want to review this other tutorial:
Hardware Tour
The interface to this line of boards is simple. One side has a TTL-232R cable compatible 6 pin SIL, 0.1” pitch female header. This side connects to the Arduino (TTL serial UART) board. We often use right angle headers on the Arduino Pro Mini to make connecting a serial bridge trivial. Our boards have silkscreen labels of where the black and green wires of the FTDI TTL-232R cables would be.

Fritzing diagram showing the connection between a USB to UART bridge and a Pro Mini

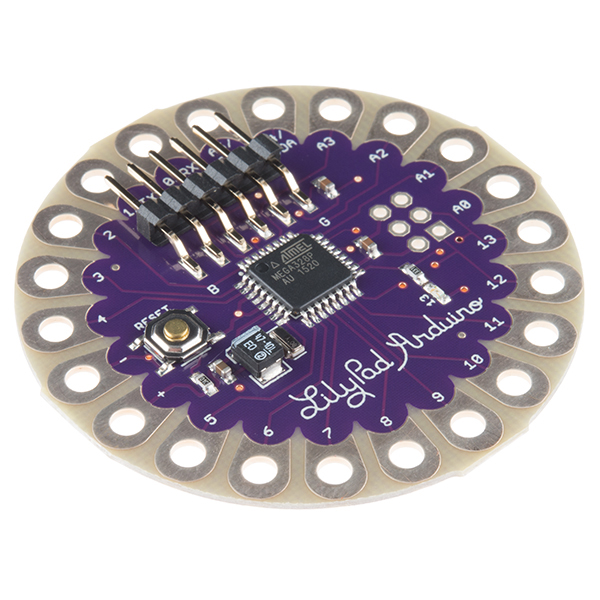
6 pin SIL, 0.1” pitch header at top of PCBA
The other side has a USB mini-B or USB micro-B jack. A standard USB cable is used to connect this jack to a host computer.
This line of products comes in a few forms. Here is a table comparing the most common options.
| Name | Voltage | Current Limit | Connector |
|---|---|---|---|
| SparkFun FTDI Basic Breakout - 5V | 5.0 V | N/A1 | USB Mini-B |
| SparkFun FTDI Basic Breakout - 3.3V | 3.3 V | < 50 mA | USB Mini-B |
| Beefy 3 | 3.3 V | < 600 mA2 | USB Micro-B |
| LilyPad FTDI Basic Breakout - 5V | 5.0 V | N/A1 | USB Mini-B |
Table 1. Comparison of common SparkFun offerings
1. [5V is taken directly from VBUS and is only limited by the USB host controller.]↩
2. [This 3.3V regulator is powered directly from VBUS and is only limited by the USB host controller.]↩
Connecting the USB to Serial UART Boards
These bridges have two connections. On one end there is a USB device connection. See table 1 for more details on the exact connector for the specific product. This interface is USB 1.1 / USB 2.0 full-speed compatible. A standard USB A to some sort of B cable is used to connect the bridge to the computer.
The other connection is a 0.1" pitch female header designed to connect to the microcontroller. Many of our products come with a compatible row of plated-through holes. These are designed to have 0.1" male headers soldered in. Some cases will best be served with straight headers, other with right-angle headers. The desired connection varies from design to design as discussed here. Some products come prepopulated with these headers.
Prepopulated FTDI header example
Resources and Going Further
Serial Communication
How to Install FTDI Drivers
Using the Arduino Pro Mini 3.3V
Serial Terminal Basics
learn.sparkfun.com |CC BY-SA 3.0 | SparkFun Electronics | Niwot, Colorado